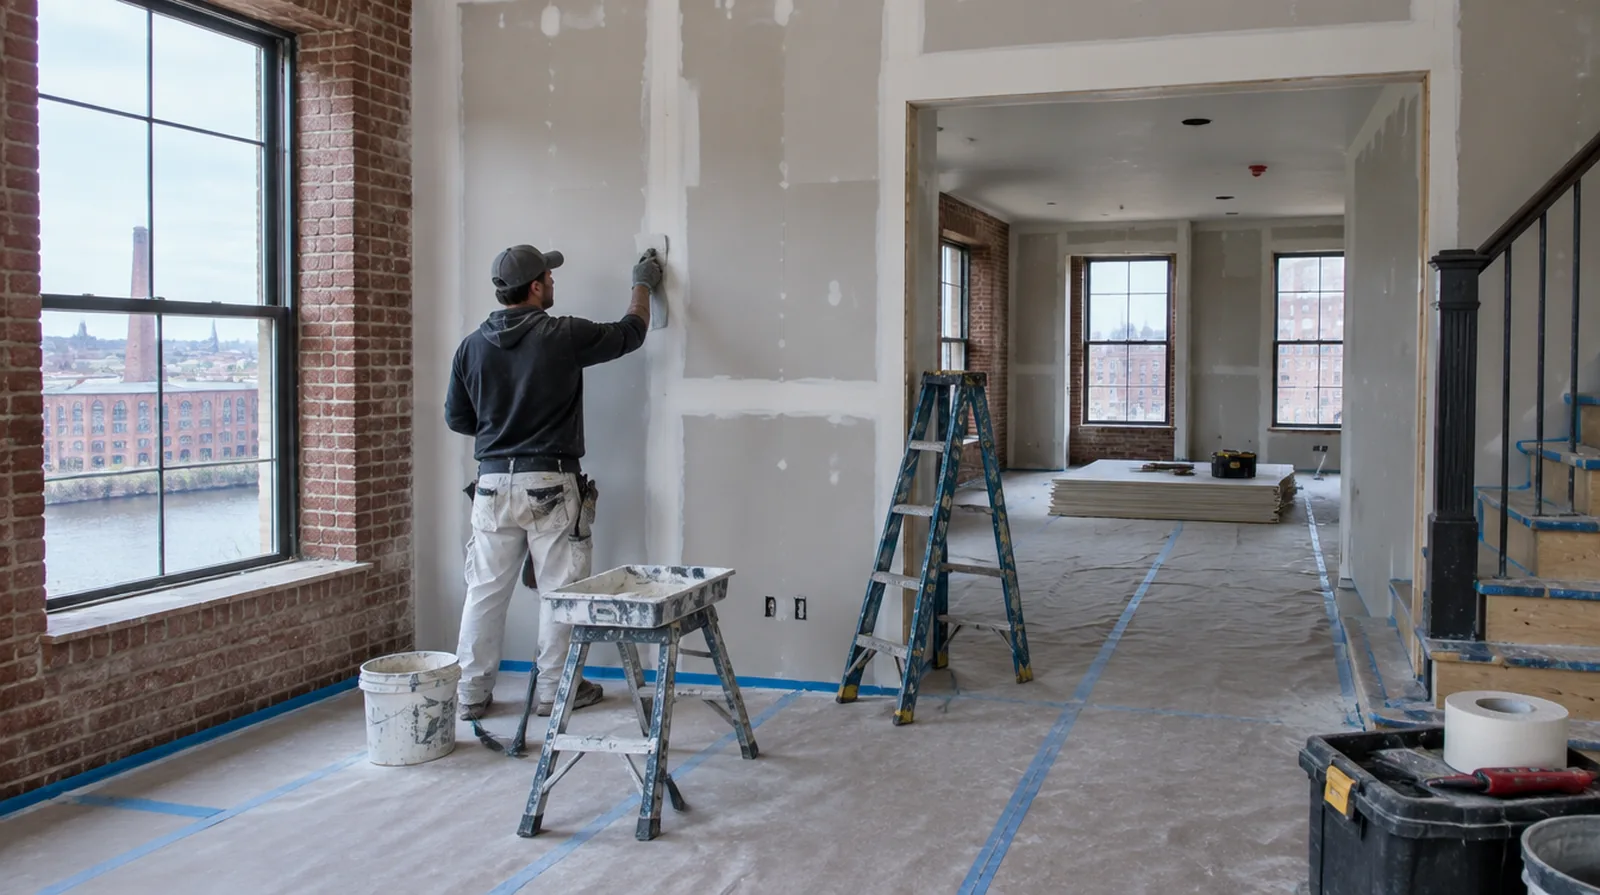
Define selective removal
A planned removal area opens the assembly for evaluation without automatically stripping every adjacent surface. The cut boundary also needs to accommodate backing and a practical surface transition. For a distinctive existing pattern, retain a reference sample or detailed picture to make the matching discussion more specific.
Rebuild supported edges
New panel pieces need secure fastening to sound framing or suitable backing. A stable repair perimeter helps avoid later cracking where replacement board meets the original surface. When a paint contractor follows the drywall work, define the surface condition being handed over and decide who handles any minor final touch ups.
Finish after moisture control
Tape and drywall joint compound belong on stable dry material rather than a damp or deteriorating substrate. Allow adequate time for each coat instead of sealing moisture beneath the next stage. If a household member is sensitive to dust, discuss containment and cleaning expectations before choosing how to stage the interior work.
Resolve the water source
Replacement drywall should follow correction of the leak, condensation or other source that caused the damage. A cosmetic cover will not stop water from entering the same assembly again. When photographs are used for an initial discussion, include a wide room view as well as a close view so scale and surrounding finishes are understandable.
Verify drying readiness
A dry looking outer face does not prove that concealed framing and insulation are ready to enclose. The project should identify who verifies the cavity is ready before replacement panels close it again. Where a future fixture will be installed, coordinate any required backing while the cavity is accessible instead of reopening the completed wall.
Treat remaining discoloration
Suitable primer may be needed to prevent old water marks from bleeding through the new paint. Establish that the stain is inactive before choosing a coating system for the repaired surface. Where a future fixture will be installed, coordinate any required backing while the cavity is accessible instead of reopening the completed wall.
Match the board assembly
Use replacement panels consistent with the original thickness and the assembly that must be restored. Changing to a moisture resistant board does not excuse leaving the original water problem unresolved. For a repair that crosses several surfaces, measure the affected planes separately so the estimate can explain where each finishing treatment starts and stops.
Keep contamination separate
Suspected microbial contamination or exposure to flood water is outside a routine cosmetic patch assessment. Ask an appropriate remediation professional about containment and material handling before drywall work is scheduled. Before comparing two proposals, check that both include the same protection, finishing and cleanup boundaries rather than comparing totals alone.
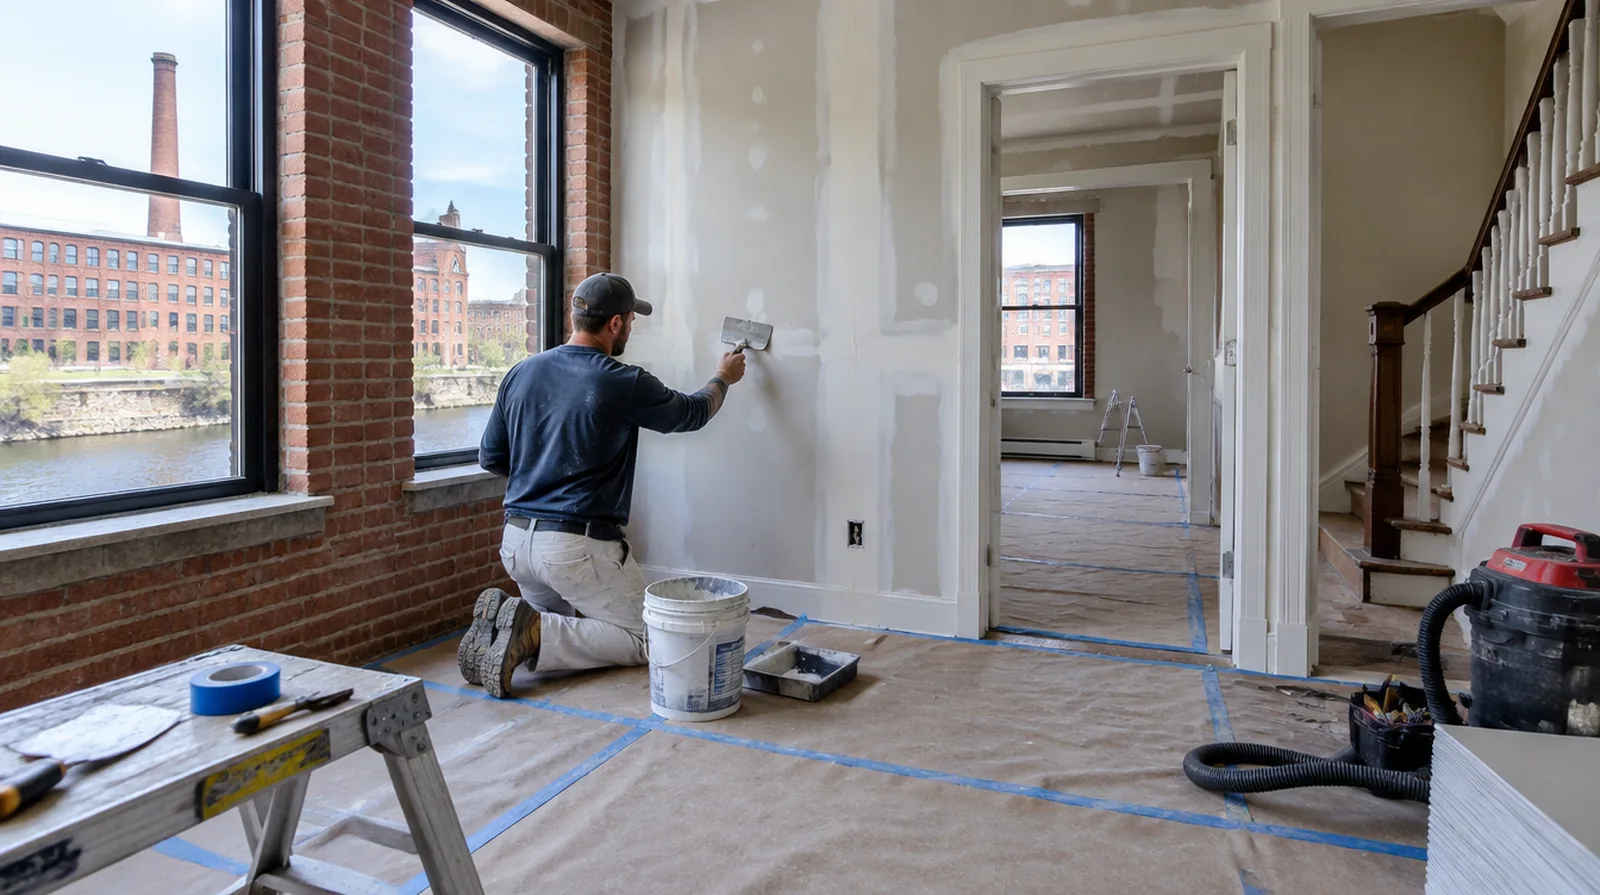
Record the completed scope
Retain useful information about source repairs, material replacement and any drying checks performed by other trades. This record helps explain what the drywall repair covered and what maintenance remains the property owner responsibility. When building management controls access, agree delivery hours and common area protection before committing to a start or finish date.
Agree on decorative boundaries
Restoring the gypsum and achieving a consistent painted room finish are not automatically the same scope. Review a larger painting boundary if local decoration would leave a conspicuous difference around the patch. For a surface that will receive wall covering, share the product requirements early so the finishing stage supports the planned decorative treatment.
Project context in Lowell
In mill units, new partitions often meet brick walls and heavy timber, which are rarely straight. Scribing the board to uneven brick takes time and should be in the quote.
Scope questions before finishing
If scheduling is the main concern, separate hands on labor from drying intervals instead of treating every visit as a full day of active work.
When a wall has repeated defects, keep a record of earlier repair attempts so a new assessment does not simply repeat an unsuccessful approach.
For a project with several trades, agree which inspection or handover point must happen before the next person starts work.
Where several contractors share the renovation, identify the inspection and handover milestones that determine when each following stage can proceed.
If there is a fixed move in date, reserve sufficient time for the coating stages after drywall work rather than counting only the installation period.
When reviewing the finished work, use the agreed lighting and natural room viewpoints so the assessment reflects the intended use of the space.
Where the wall meets fixed furniture, clarify whether removal is included or whether the finish will terminate at the accessible edge.
At a repair beside an opening, allow clearance for moving board through the doorway and space to use the finishing tools effectively.
When comparing competing estimates, make sure their protection, surface finish and disposal allowances describe equivalent work before comparing the final prices.
If the wall work belongs to a broader renovation, coordinate its order with flooring, cabinetry and trim rather than scheduling finishing in isolation.
If a household member is sensitive to dust, discuss containment and cleaning expectations before choosing how to stage the interior work.
For a tightly furnished room, plan temporary storage and the minimum working clearance before material is carried into the property.
Explore the Lowell drywall overview for related options, or read the project planning information before arranging the next stage.
More planning details for Lowell
Lowell has many mill conversions and triple-deckers, and both bring their own drywall challenges. In triple-deckers, back stairs and shared halls control how material moves, so check building rules first. Cold winters mean the heat must stay on while compound dries.