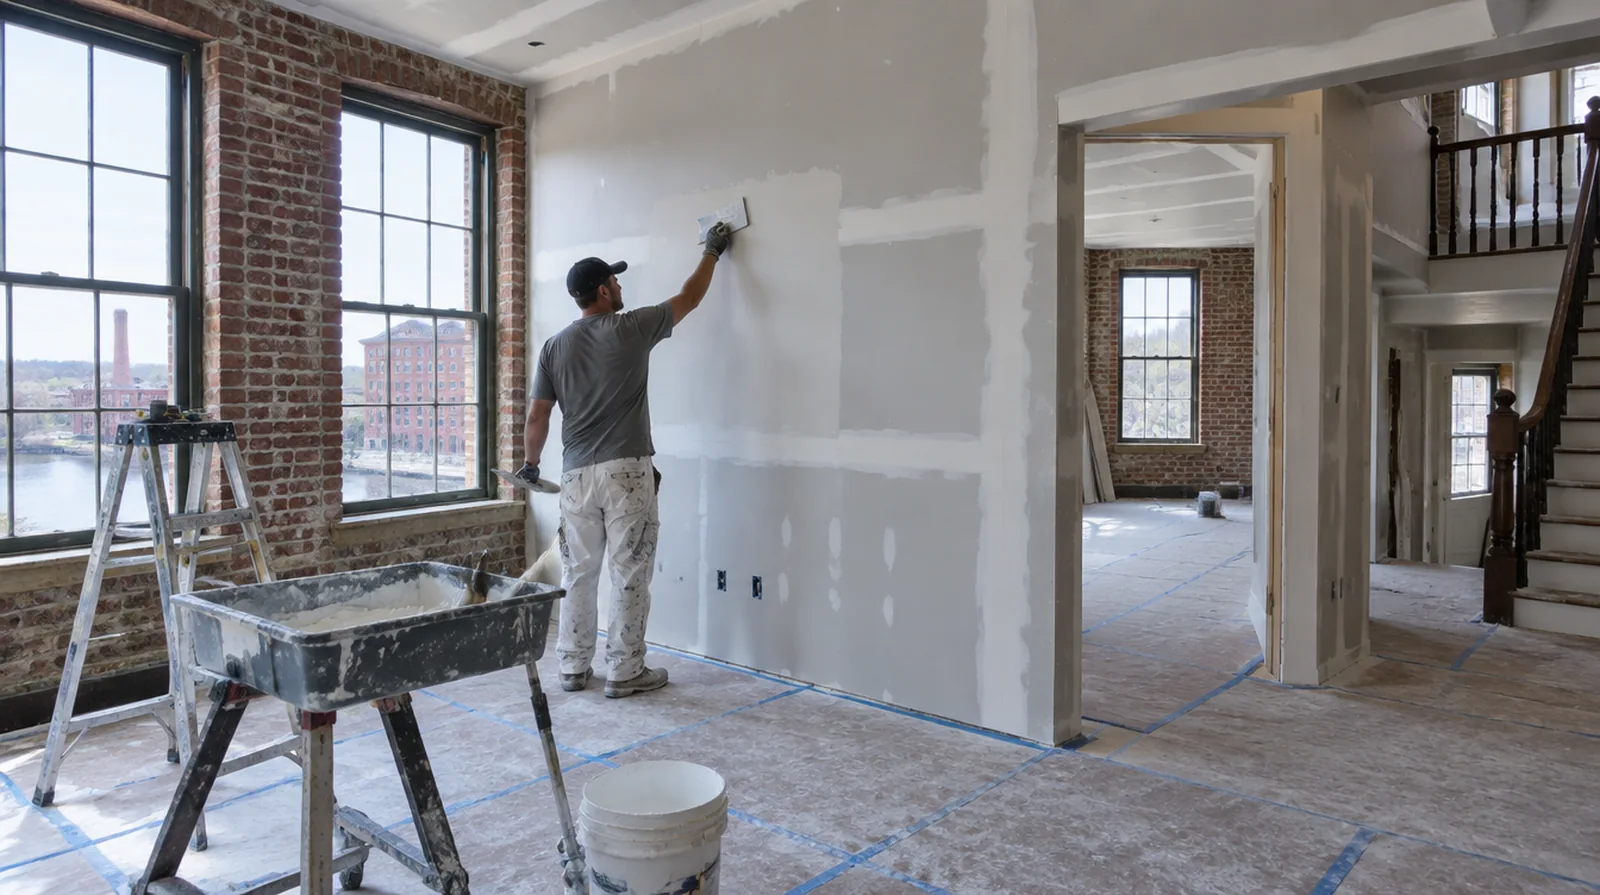
Choose paint with the finish
A glossy decorative choice may reveal variations that a lower sheen makes less apparent. Discuss the final decorative plan before deciding how extensive the preparation of the surface needs to be. For a project involving a building manager, confirm access hours and protection requirements before promising a start date or a short completion window.
Stabilize torn paper
Wet finishing material can lift damaged paper if the exposed area has not been suitably prepared. Damaged spots need an suitable sealing approach before the broad finishing coats are applied. If a room has only limited ventilation, discuss how the finishing materials can dry without disrupting comfort or spreading dust elsewhere.
Inspect using side light
Check the dried surface with light crossing it as well as light facing it directly. The review should reflect the conditions that will matter when the interior returns to everyday use. Where a future fixture will be installed, coordinate any required backing while the cavity is accessible rather than reopening the completed wall.
Work around trim carefully
Baseboards, frames and fixed fittings create edges that need neat transitions and protection. Decide whether trim removal is needed or whether a neat stop against it is acceptable. If the proposal requires return visits, identify the purpose of each stage and the intervals during which finishing material needs to remain undisturbed.
Prime before decoration
The new skim needs compatible priming before its final decorative coatings. Priming equalizes absorption and may help identify small corrections before the last paint coat is applied. At an edge beside built in furniture, state whether the obstruction will be removed or whether finishing stops at the section that can be reached.
Let each coat dry
Allow each application to become ready for the next under the indoor conditions actually maintained. A rushed next coat can drag or disturb material that has not set up sufficiently. Where flooring is staying in place, agree on protective coverings and check that tools and material handling will not damage the noticeable finish.
Apply controlled thin layers
A skim coat is intended to refine the surface instead of build a heavy unsupported layer. Deeper texture may require successive passes to level low spots without overloading the high points. Where several contractors share the renovation, identify the inspection and handover milestones that determine when each following stage can proceed.
Define the smoothing target
Removing the visual effect of light texture is not the same task as straightening a badly uneven plane. Describe the expected improvement and any retained wall variation in the agreed finish scope. When photographs are used for an initial discussion, include a wide room view as well as a close view so scale and surrounding finishes are understandable.
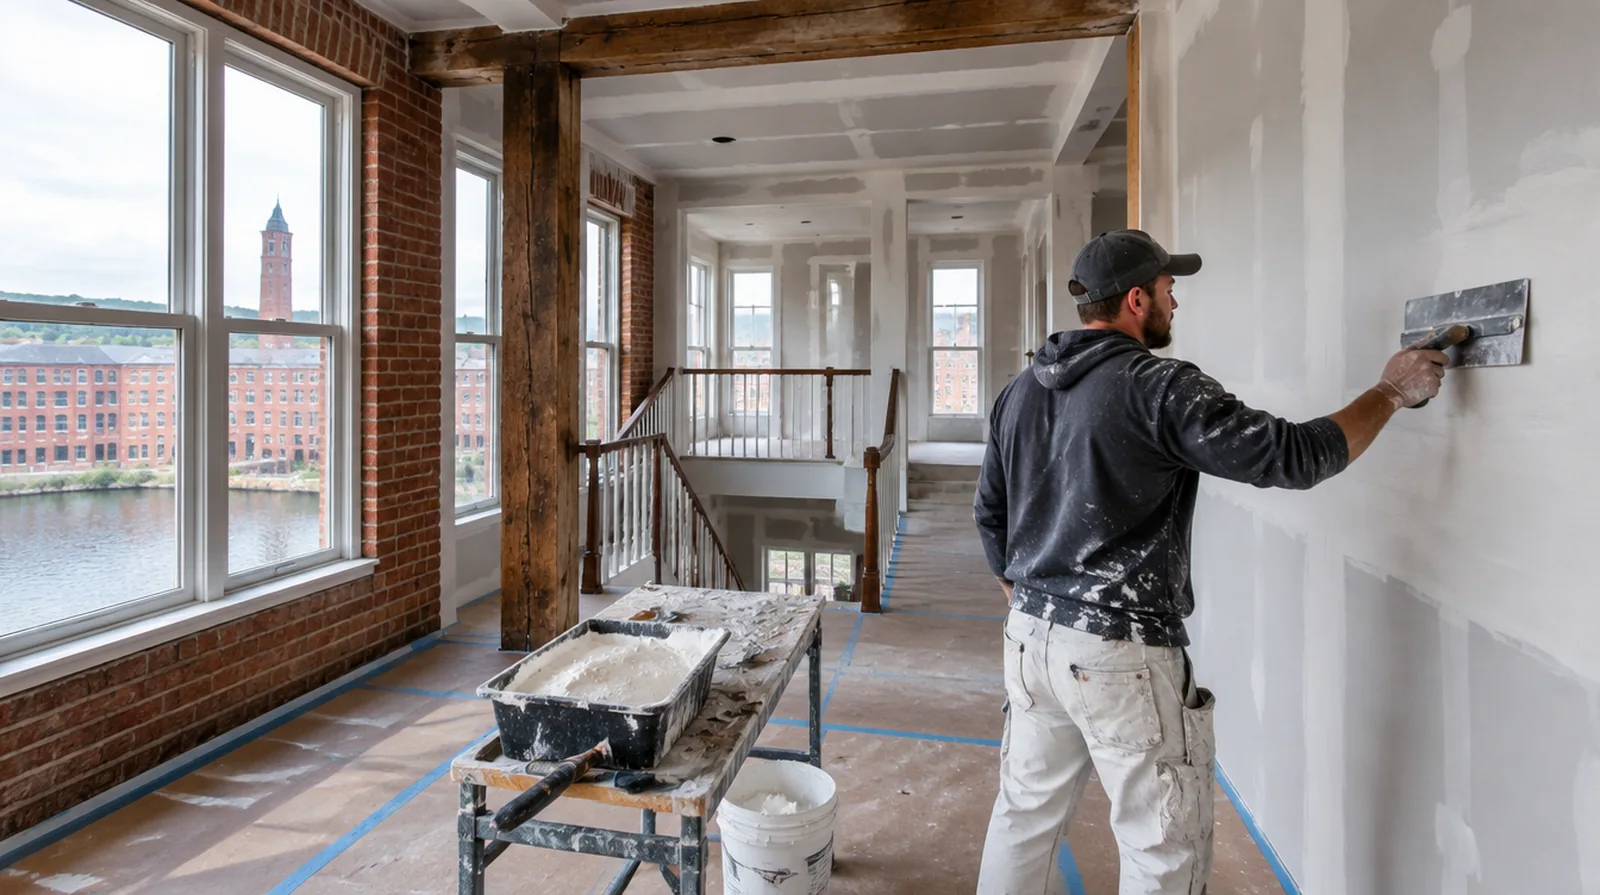
Assess the existing coating
Loose paint and unstable layers need attention before a thin skim can bond reliably. Separate peeling or poorly bonded material from a stable wall that merely needs smoothing. When damage followed other building work, describe the nearby alterations and the sequence between those changes and the first visible defect.
Clean and prepare the wall
Dust, grease and incompatible residues can interfere with adhesion. Preparation may include cleaning and a suitable bonding treatment based on the condition of the current surface. For a wall receiving a decorative covering, provide its preparation requirements early adequate for the drywall finish to support that product.
Project context in Lowell
Scribing the board to uneven brick takes time and should be in the quote. In mill units, new partitions often meet brick walls and heavy timber, which are rarely straight.
Scope questions before finishing
For a planned new wall mounted fixture, resolve its backing requirements while the cavity remains open instead of cutting into completed drywall later.
If the ceiling or wall includes fittings, identify the person responsible for removing and reinstalling each item before the work begins.
For a repair that crosses several surfaces, measure the affected planes separately so the estimate can explain where each finishing treatment starts and stops.
While a removed panel exposes the wall cavity, complete the necessary review of concealed work before replacement board closes the opening.
For an initial assessment from pictures, provide an overall room photograph and a detailed view of the defect so both context and scale are apparent.
When panel replacement exposes a cavity, resolve any required inspection before that opening is closed and the surface finishing begins.
If the coating stability is unclear, assess which layers are adequately bonded and which ought to be removed instead of simply hidden beneath new material.
In a room with little free floor space, identify temporary storage for belongings and establish enough clearance for the work before delivery.
For a surface that will receive wall covering, share the product requirements early so the finishing stage supports the planned decorative treatment.
If access passes through a shared space, arrange protection and a delivery route that do not unnecessarily obstruct other occupants.
For walls beside bright windows, review a dry sample from an oblique angle as well as looking straight at the repaired surface.
For a room that stays in use, set a workable boundary around construction while retaining the access people need for normal daily activities.
Explore the Lowell drywall overview for related options, or read the project planning information before arranging the next stage.
More planning details for Lowell
Lowell has many mill conversions and triple-deckers, and both bring their own drywall challenges. In triple-deckers, back stairs and shared halls control how material moves, so check building rules first. Cold winters mean the heat must stay on while compound dries.