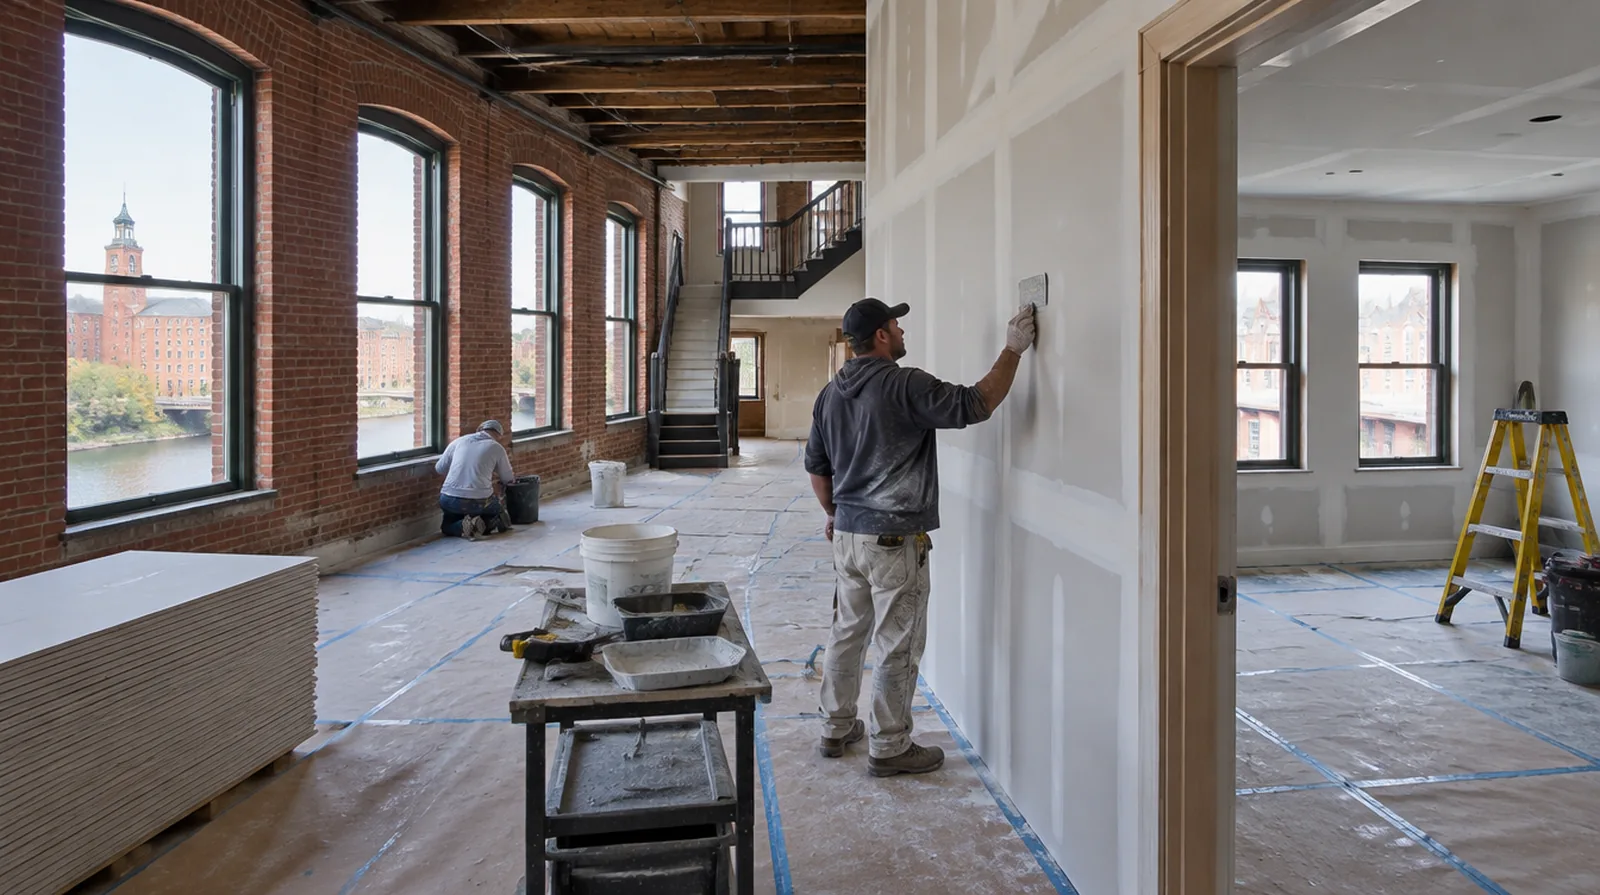
Protect surrounding finishes
Mask adjacent materials against sprayed compound and other application debris. Protect the full reach of the operation, including fittings and trim beyond the original damaged spot. If the wall work belongs to a broader renovation, coordinate its order with flooring, cabinetry and trim instead of scheduling finishing in isolation.
Identify the existing pattern
First determine how the current texture creates its pattern and relief. The existing wall ought to be examined in the actual room lighting before selecting a matching method. Where flooring is staying in place, agree on protective coverings and check that tools and material handling will not damage the visible finish.
Consider hand applied surfaces
For a troweled pattern, the tool movement and the spacing between its marks matter. A representative trial is useful when there is no standard machine setting that reproduces the existing finish. When damage followed other building work, describe the nearby alterations and the sequence between those changes and the first visible defect.
Control application conditions
Spray settings, material consistency and working distance all influence the resulting texture. A knockdown pass also depends on when the applied material reaches the right condition in that room. Where existing floors will remain, specify protective measures and review the path used by panels, equipment and finishing tools.
Allow time before painting
Applying paint before the texture has dried can disturb the pattern or produce uneven absorption. Establish whether the proposal includes that decorative stage or hands the surface over to another trade. If the proposal requires return visits, identify the purpose of each stage and the intervals during which finishing material needs to remain undisturbed.
Judge from normal positions
Assess the dried texture from everyday viewpoints rather than judging only a close view of a wet sample. The planned decorative paint sheen and oblique light both belong in the final appearance discussion. When building management controls access, agree delivery hours and common area protection before committing to a start or finish date.
Use appropriate primer
A new texture and the painted wall around it can take up paint unevenly. Choose suitable primer to support the coating system without unnecessarily flattening the intended pattern. For work spread across differing planes, record their dimensions separately and describe the boundary of the treatment on each surface.
Check the underlying repair
A decorative pattern will not reliably disguise a ridge or an uneven board joint underneath it. Complete a stable level repair before trying to reproduce the surrounding texture. When reviewing the finished work, use the agreed lighting and natural room viewpoints so the assessment reflects the intended use of the space.
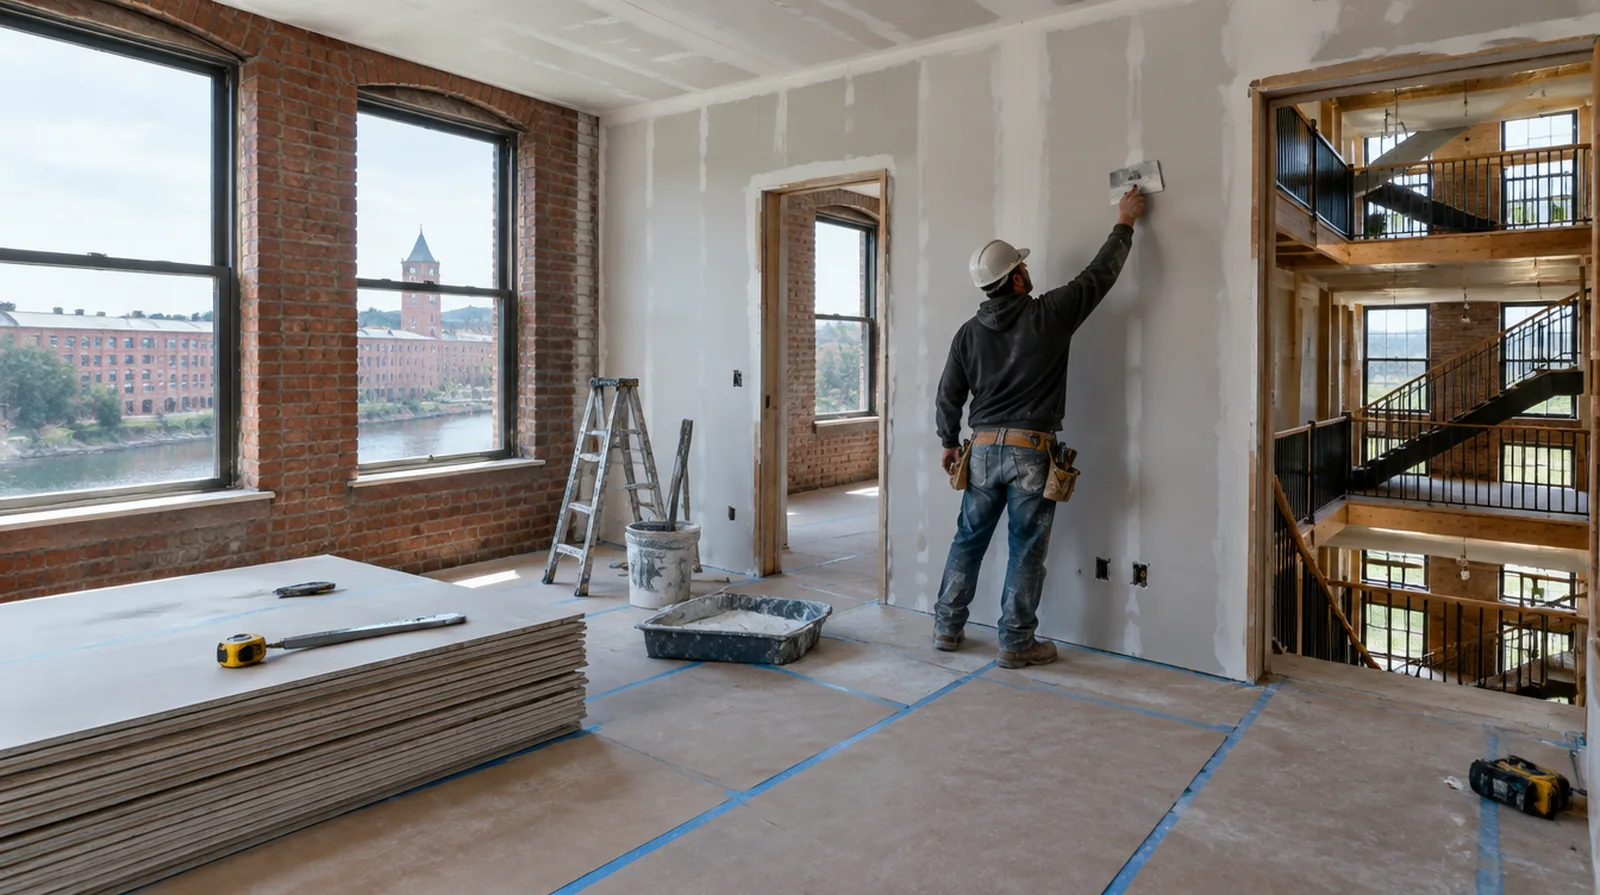
Study the paint layers
Older paint coats may have filled or rounded the original texture profile. Matching the wall surface as it looks now could call for a distinct application from the pattern that was first installed. When the decorative coating has been selected, tell the finisher its intended sheen and color while the substrate preparation standard is still being agreed.
Set realistic blend expectations
Age, paint buildup and irregular original application can limit how closely a patch can blend. A wider wall treatment may be worth discussing if a localized repair remains conspicuous. When painting is outside the proposal, describe the remaining decorative preparation clearly so another contractor can price that stage accurately.
Project context in Lowell
Lowell has many mill conversions and triple-deckers, and both bring their own drywall challenges. Ask whether the finish should stop at the brick or include a trim detail.
Scope questions before finishing
Where flooring is staying in place, agree on protective coverings and check that tools and material handling will not damage the noticeable finish.
For a surface that will receive wall covering, share the product requirements early so the finishing stage supports the planned decorative treatment.
For a room with restricted airflow, plan drying conditions alongside dust protection and the comfort of people occupying neighboring spaces.
Before comparing two proposals, check that both include the same protection, finishing and cleanup boundaries instead of comparing totals alone.
When photographs are used for an initial discussion, include a wide room view as well as a close view so scale and surrounding finishes are understandable.
For a project with several trades, agree which inspection or handover point must happen before the next person starts work.
Where light reflects along the wall surface, inspect the complete plane instead of limiting the review to the edge immediately next to the repaired section.
For work spread across distinct planes, record their dimensions separately and describe the boundary of the treatment on each surface.
Where several contractors share the renovation, identify the inspection and handover milestones that determine when each following stage can proceed.
When the project space includes a doorway, check the clearance for panel movement as well as the amount of space available for finishing tools.
If the proposal requires return visits, identify the purpose of each stage and the intervals during which finishing material needs to remain undisturbed.
For a small repair with extensive setup, compare the total scope instead of assuming the price should follow the hole dimensions alone.
Explore the Lowell drywall overview for related options, or read the project planning information before arranging the next stage.
More planning details for Lowell
In mill units, new partitions often meet brick walls and heavy timber, which are rarely straight. Scribing the board to uneven brick takes time and should be in the quote. In triple-deckers, back stairs and shared halls control how material moves, so check building rules first.