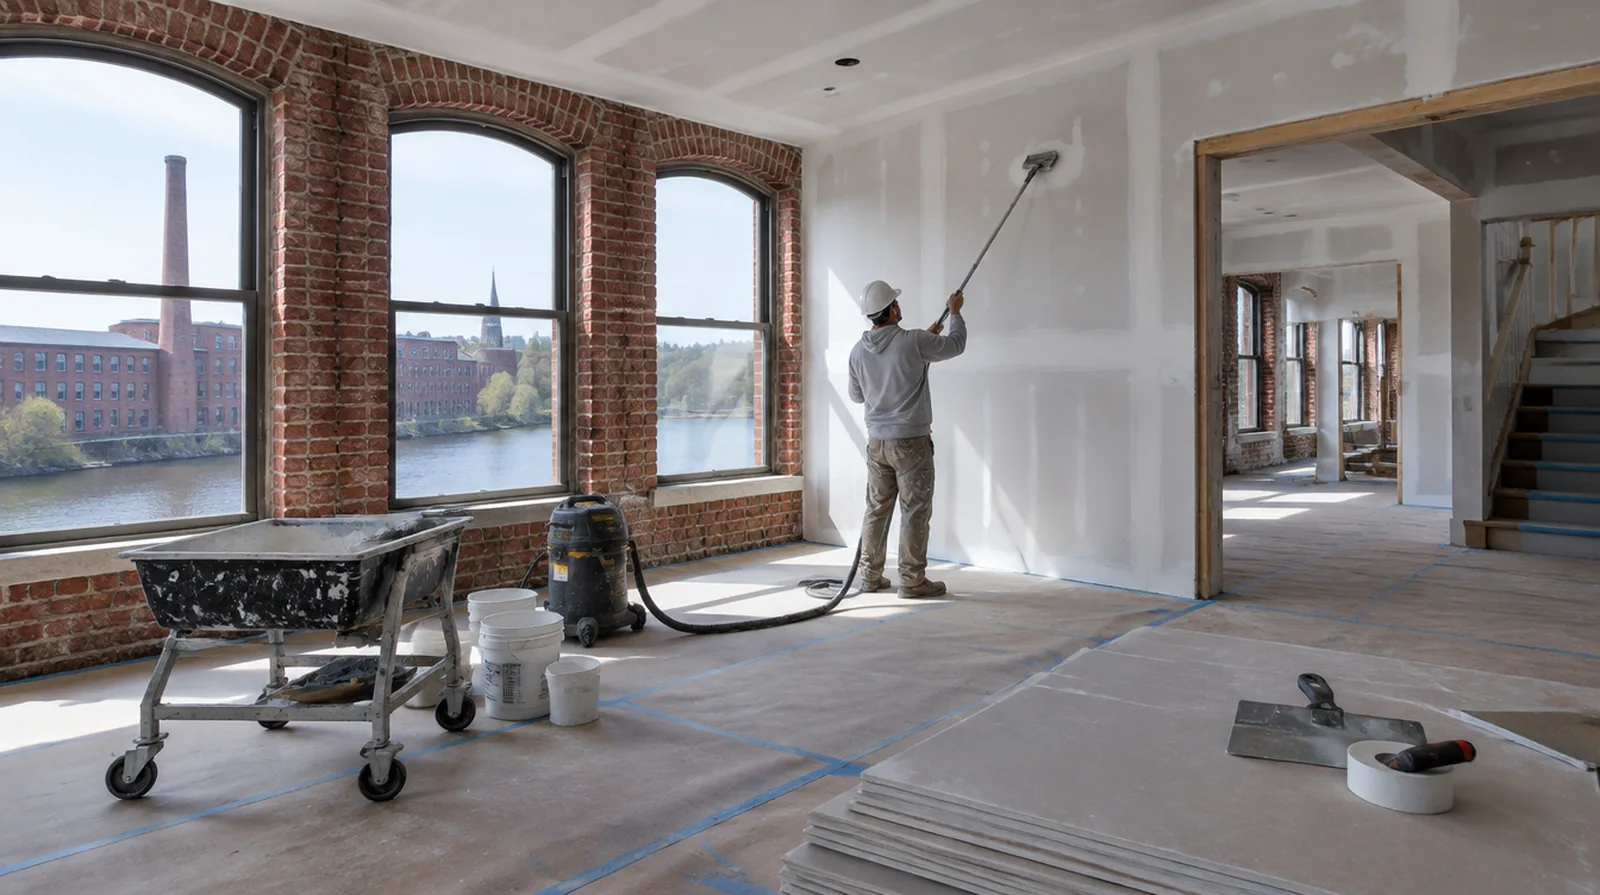
Cover fastener heads
Fastener dimples need enough compound to level the surface without leaving raised spots. A screw that protrudes or has broken the paper should be addressed before it is concealed. Where a future fixture will be installed, coordinate any required backing while the cavity is accessible instead of reopening the completed wall.
Inspect the whole wall
Review corners, returns and service openings as well as the straight seams in the main wall. Check the finished plane under the planned lighting and from a side angle where possible. If scheduling is the main concern, separate hands on labor from drying intervals instead of treating every visit as a full day of active work.
Build the seam gradually
Make later joint coats progressively broader so the transition becomes less abrupt. Square cut sheet ends need particular care because they do not offer the recess of tapered factory edges. If access passes through a shared space, arrange protection and a delivery route that do not unnecessarily obstruct other occupants.
Allow genuine drying time
A firm outer skin does not always mean the material beneath it is ready for sanding. Temperature, air movement and room humidity affect the interval between finishing stages. For a small repair with extensive setup, compare the total scope rather than assuming the price should follow the hole dimensions alone.
Embed the tape
A continuous bedding layer supports the tape and reduces the chance of air bubbles along the seam. Inside corners need a crisp fold and balanced coverage on both faces. If a household member is sensitive to dust, discuss containment and cleaning expectations before choosing how to stage the room work.
Choose joint materials
Joint bedding and the last surface coats do not necessarily call for identical products. Selection should reflect joint type, indoor conditions and the manufacturer guidance rather than convenience alone. For a project with several trades, agree which inspection or handover point must happen before the next person starts work.
Agree on the visual standard
The expected decorative paint sheen, room lighting and viewing distance influence how much finishing a wall needs. A written finish level gives the installer and painter a clearer shared target. If the completion date matters most, allow for intervals between coats as well as active labor instead of assuming the entire process happens continuously.
Use controlled sanding
Sanding should refine small tool marks rather than grind away a badly shaped joint. Dust extraction and protection matter even for a room with only a few seams. While a removed panel exposes the wall cavity, complete the necessary review of concealed work before replacement board closes the opening.
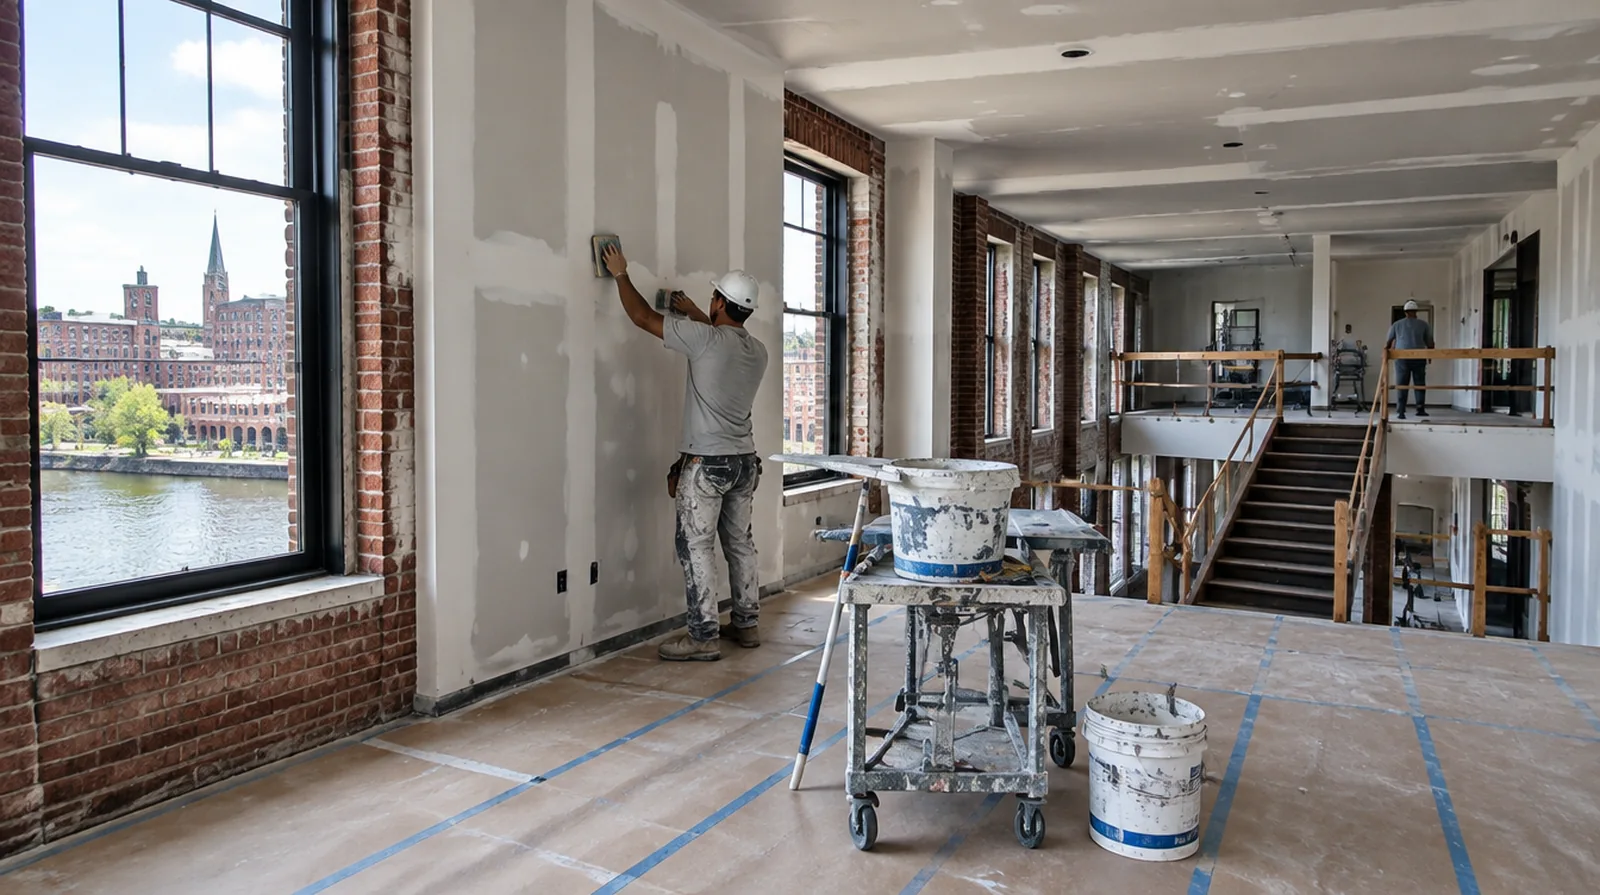
Assess the hung board
Finishing cannot fully correct unsupported edges or panels that sit on differing planes. Check how the sheets sit and how the fixings hold them instead of beginning with compound immediately. Where a neat final edge matters, agree whether the finish ends against existing trim or whether that trim will be removed and replaced.
Coordinate with the painter
Primer could reveal small imperfections that were challenging to see on the raw white surface. Decide beforehand who handles minor touch ups and whether a post primer review is included. When panel replacement exposes a cavity, resolve any required inspection before that opening is closed and the surface finishing begins.
Project context in Lowell
Lowell has many mill conversions and triple-deckers, and both bring their own drywall challenges. In mill units, new partitions often meet brick walls and heavy timber, which are rarely straight.
Scope questions before finishing
Where the wall surface meets fixed furniture, clarify whether removal is included or whether the finish will terminate at the accessible edge.
In a room with little free floor space, identify temporary storage for belongings and establish sufficient clearance for the work before delivery.
For a surface that will receive wall covering, share the product requirements early so the finishing stage supports the planned decorative treatment.
If occupancy must resume on a certain day, include the later primer and paint stages in the timetable as well as drywall installation and finishing.
If the interior will remain occupied, identify a workable separation between the project space and the space that still needs daily access.
For an older repair with no clear history, describe when the mark first appeared and whether it has changed through more than one season.
If a household member is sensitive to dust, discuss containment and cleaning expectations before choosing how to stage the interior work.
If the coating stability is unclear, assess which layers are adequately bonded and which ought to be removed instead of simply hidden beneath new material.
Where flooring is staying in place, agree on protective coverings and check that tools and material handling will not damage the visible finish.
When the decorative coating has been selected, tell the finisher its intended sheen and color while the substrate preparation standard is still being agreed.
At a repair beside an opening, allow clearance for moving board through the doorway and space to use the finishing tools effectively.
If the wall work belongs to a broader renovation, coordinate its order with flooring, cabinetry and trim rather than scheduling finishing in isolation.
Explore the Lowell drywall overview for related options, or read the project planning information before arranging the next stage.
More planning details for Lowell
Scribing the board to uneven brick takes time and should be in the quote. In triple-deckers, back stairs and shared halls control how material moves, so check building rules first. Cold winters mean the heat must stay on while compound dries.